Transporting a personal computer (PC) safely in a car requires careful planning and execution to avoid damage; Whether moving to a new home or taking your setup to another location, following these transport guidelines ensures your computer and its components arrive intact.
Preparing Your PC for Transportation
Step 1: Gather Packaging Materials
Start by collecting appropriate packaging materials. You will need sturdy boxes, bubble wrap for cushioning, and anti-static bags for static protection. These materials will help mitigate the risk of damage during transport.
Step 2: Disassemble and Secure Components
Before moving your PC, it’s crucial to disassemble any fragile components. Remove the monitor, keyboard, and other peripherals. For the monitor care, use its original packaging if available, or wrap it in bubble wrap and secure it in a separate box. Ensure secure placement of these items within the vehicle.
Step 3: Cable Management
Proper cable management is essential. Disconnect all cables and organize them neatly. Use zip ties or Velcro straps to bundle them together. This prevents tangling and makes reassembly easier.
Step 4: Protect the Hardware
For hardware protection, ensure all internal components are secure. Remove or secure the graphics card and any other significant hardware that might be dislodged by vehicular vibration. Place these components in anti-static bags and secure them with bubble wrap.
Loading the PC into the Car
Step 5: Utilize Vehicle Space Efficiently
Effective vehicle space utilization is key. Place the PC tower upright in the backseat or trunk, supported by cushions or blankets to minimize movement. Avoid placing heavy objects on top to prevent pressure damage.
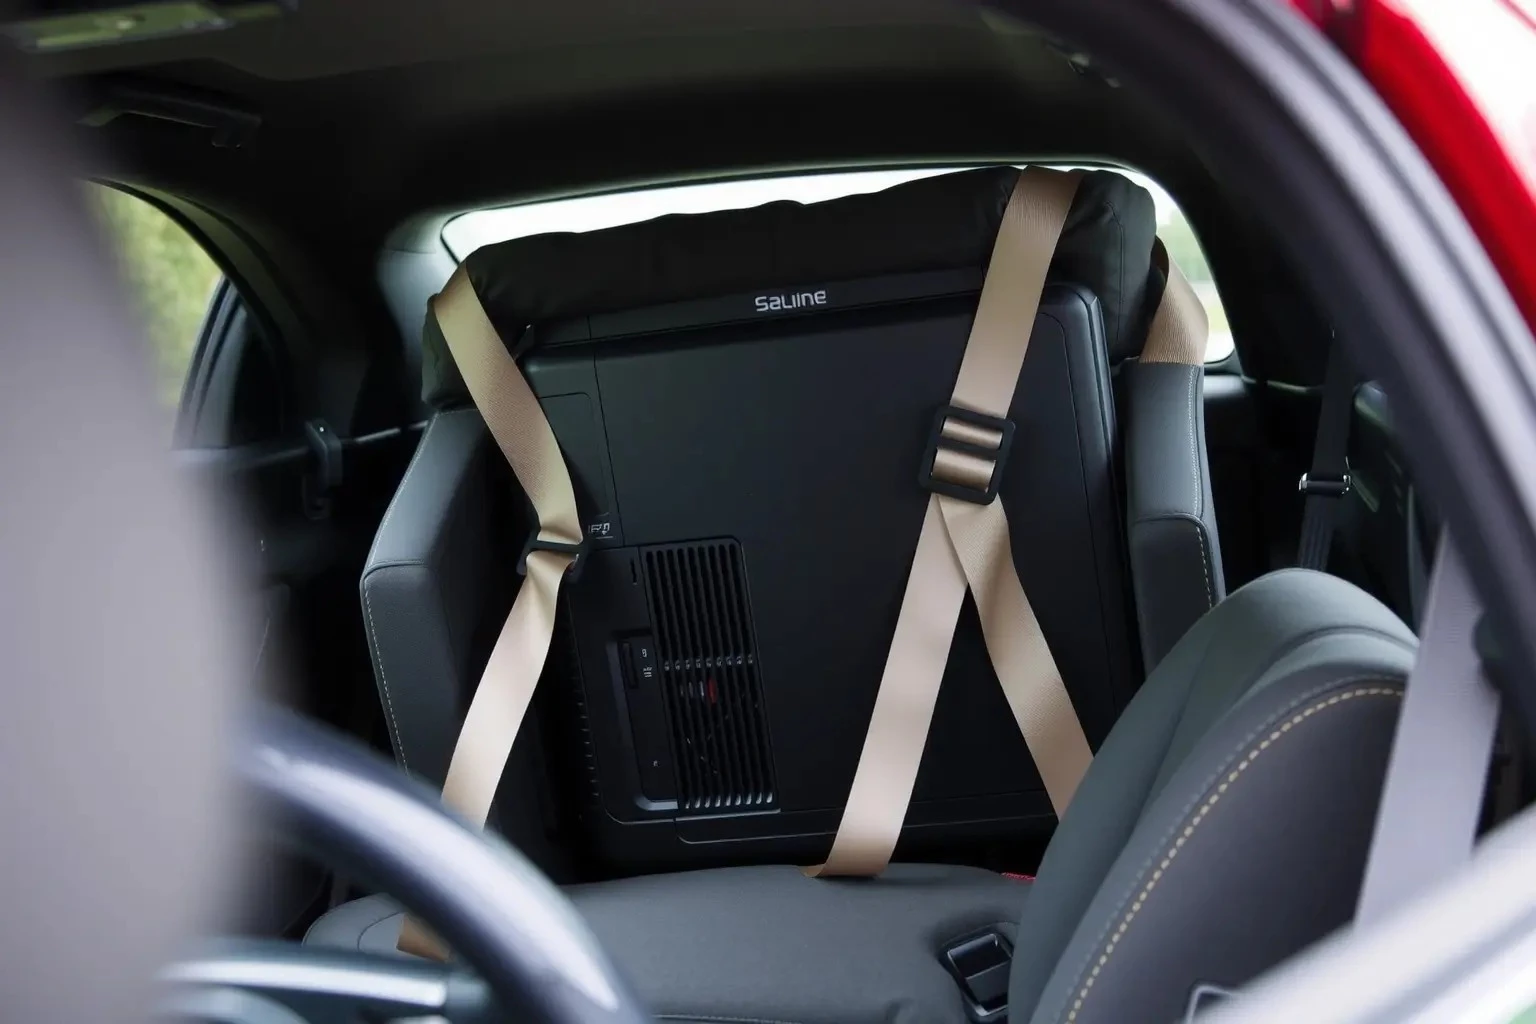
Step 6: Secure Placement in the Vehicle
Use seat belts or additional straps to ensure secure placement of the PC tower and other components. This is crucial to prevent shifting during sudden stops or turns.
Step 7: Consider Temperature Control
Maintaining temperature control is vital, especially in extreme weather. Avoid leaving your PC in a hot car for extended periods. Excessive heat can damage internal components, while cold conditions can lead to condensation.
During the Journey
Step 8: Drive Carefully
During the journey, drive carefully to minimize vehicular vibration and sudden jolts. Avoid rough roads and sudden stops when possible.
Step 9: Monitor Environmental Conditions
Keep an eye on environmental conditions, ensuring the inside of the vehicle remains at a stable temperature. Use air conditioning or heating to maintain optimal conditions.
Upon Arrival
Step 10: Reassemble with Care
Once you arrive at your destination, carefully reassemble your PC. Ensure all components are free from dust and static before reinstallation. Pay particular attention to reconnecting cables correctly.
Step 11: Test Your Setup
Before resuming regular use, power on your PC to test its functionality. Check that all components are working correctly and that there are no issues resulting from the move.
By following these steps, you can ensure the safe and efficient transportation of your PC in a car. Proper planning, the right materials, and careful handling are essential for protecting your valuable equipment from damage during transit.